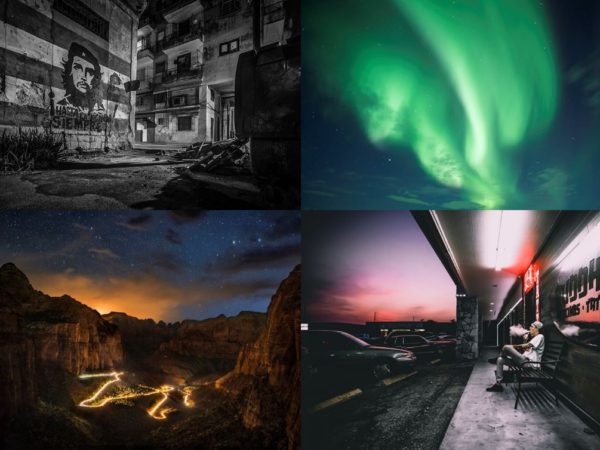
A brilliant starry night sky or an enchanted moonlit landscape photo isn’t out-of-reach. It can seem like you need an expensive camera, specialized equipment, and years of experience to bring the stars out or light up moonlit terrain, but in reality any basic DSLR or mirrorless camera can get the job done and it’s not hard to get started. If you’ve ever wanted to capture the stars or moonlight outdoors, this multi-part guide covers everything you need to know to start doing long-exposure night photography.
Practice & Experiment At Home
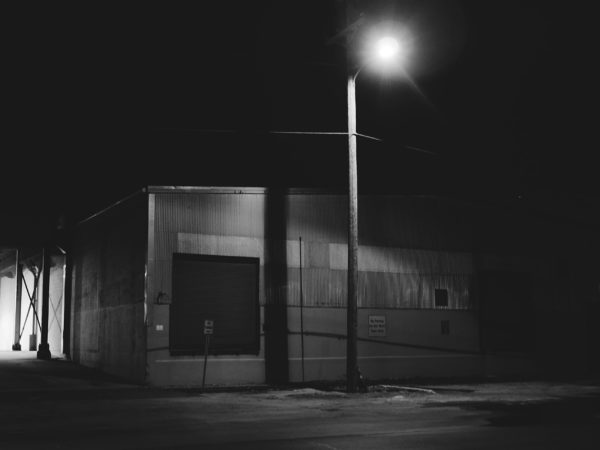
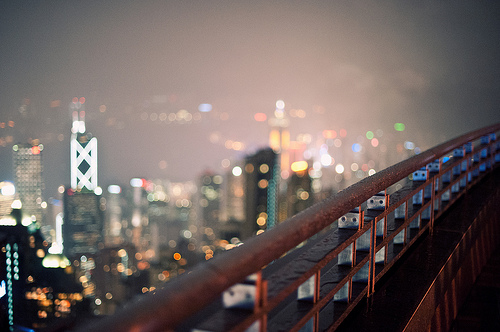
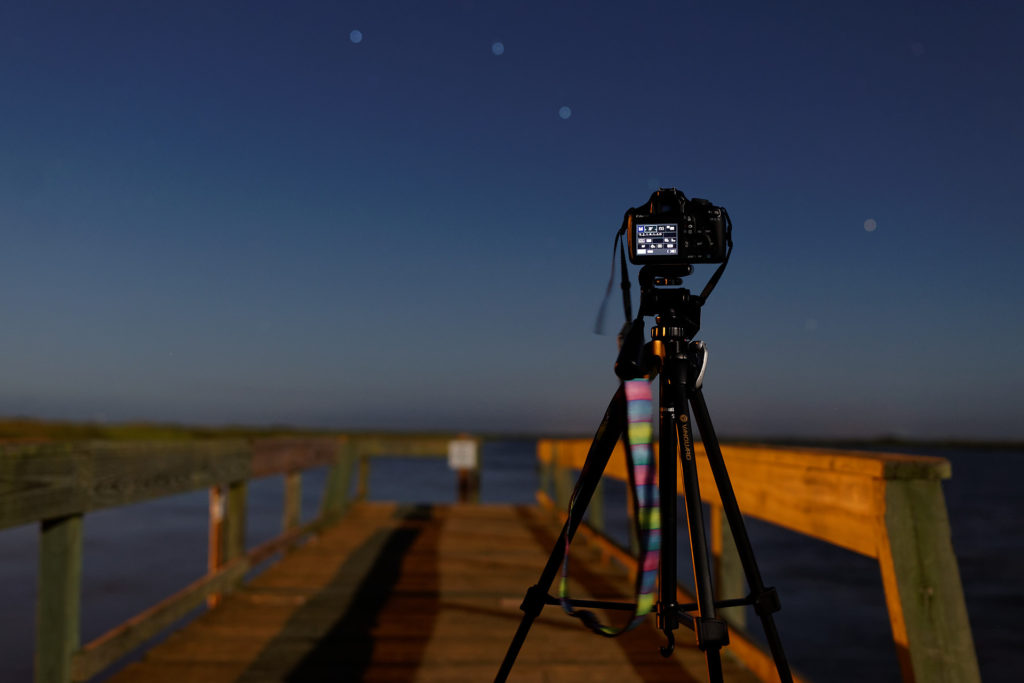
The very first step is to get some experience in a familiar environment. Set up (yes, you’ll need a tripod for any of this) your camera in your backyard or a field near your home and take lots of test photos, and you’ll start developing a sense of how different factors affect your results and what looks best. This knowledge is vital once you’re at your chosen photo spot, as sky conditions can change surprisingly quickly. Try shooting different parts of the sky and test out different angles, too: What does it look like if you point your camera straight up? Where’s the best place for the horizon to be in an image? What happens if you zoom in or out?
Dial In Settings
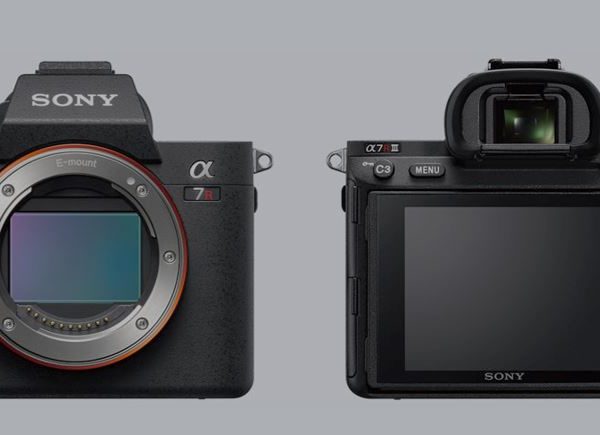
A test session also acts as a low-stress time to nail down how to adjust settings on your camera and set it up for long-exposure work. You’ll need to rely on Manual mode, as auto-exposure and autofocus are unreliable in near-darkness. That’s not as scary as it sounds, though, because you always get more than one chance to get things right. Here’s some steps you can follow to figure out your exposure, assuming you have an 18-55mm or greater kit lens:
- Zoom out all the way, to 18mm
- Set your mode dial to Manual (M) mode
- Set your aperture to f/3.5 and shutter speed to 15 seconds
- Set your ISO to 800
- Take a test shot
- If it’s too bright, decrease the ISO first, then the shutter speed. If it’s too dark, increase the shutter speed until stars begin to become streaks, then increase the ISO.
- Once you’ve found an ideal setting for your conditions—balancing brightness, noise (ISO), and star streaking (shutter speed), make note of it so you can go back if you decide to experiment further.
As for focusing, there’s two routes you can go. If you’re lucky, your camera may be able to autofocus on a particularly bright star or on the moon. Use single-zone autofocus and direct your camera to focus on these objects if you can see them on the LCD screen. Then if it locks focus, take a test shot to confirm that the camera did in fact focus correctly, as in extremely dark conditions the autofocus often returns false positives. If the photo is sharp, then congrats – you’re focused on the sky and shouldn’t need to adjust focus again for the rest of the night (set your camera to manual focus and don’t touch the focus dial again).
If that doesn’t work, you’ll need to rely on tried-and-true manual focusing. On DSLRs, manual focusing should only be done using the LCD screen with a magnified view. DSLR viewfinders don’t have the split focusing screen that old film SLR viewfinders had which significantly aided manual focusing, and with the LCD screen, magnifying the picture is crucial to achieving precision. So magnify an easy object to pick out, like a bright star or the moon, or possibly the horizon, and get it as sharp as you can with the fuzzy magnified live feed. Then take a test photo and readjust your focus until it’s spot-on (noticing a theme?). If you aren’t seeing anything, not even any bright stars, just turn the focus dial as far out as it’ll go as a starting point, then come back in based on the results of your test shots.
Review on the Big Screen
After you’ve taken all the test shots you want, and perfected your exposure and focus, it’s time for the most important step: looking at all your test shots on a computer. Viewing your images on a bigger screen is a truer test of quality than glancing at them on your camera’s little back screen. You’ll be able to see if what you thought looked sharp truly is sharp, and more easily diagnose other issues like excessive noise and star streaking. That way, you’ll have an even better idea of what to look out for in the field. Plus, scrolling through your set of test shots is a good thought exercise for mentally summarizing the session and everything you learned.
Now that you’ve gotten some practice and learned some important skills for long-exposure nighttime photography, the next step is to pick a good location for your outing – one with low light pollution and interesting scenery. That’s the topic of the next part of this series.
Summary
- Bring your camera out to a familiar, safe area at night and practice the fundamentals before trying to get “the big shot”
- Having practice using manual exposure and manual focus is essential
- But that’s not as scary as it sounds because you can take repeated test shots to fine-tune everything; they’re free to take
- After your test session, look at your images on a computer monitor so you know exactly what different settings give you